How to Deploy a Status Page to Cloudflare Pages
Problem
Section titled “Problem”You need a fast, reliable, and automated status page, but you don’t want to manage the hosting infrastructure. Manually updating a status page during an incident is inefficient and error-prone.
Solution
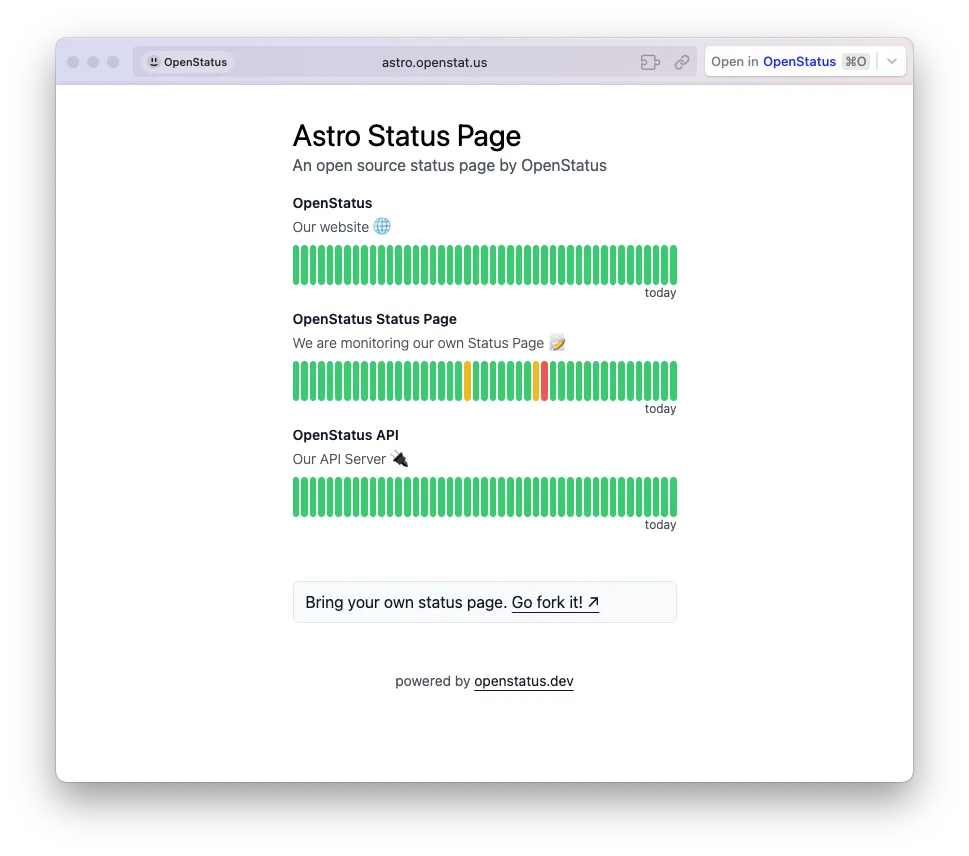
Section titled “Solution”Deploy a custom status page to Cloudflare’s global edge network using openstatus as the data source. This guide shows you how to use our Astro-based template to create a status page that automatically reflects your monitoring data.
The code for the template is available on GitHub.
Prerequisites
Section titled “Prerequisites”- A Cloudflare account
- An openstatus account with at least one monitor configured.
Step-by-step guide
Section titled “Step-by-step guide”1. Get your openstatus API key
Section titled “1. Get your openstatus API key”First, you need an API key to fetch your monitoring data.
- Navigate to your openstatus dashboard.
- Go to Settings → API Token.
- Click Create API Key and copy the key.
2. Set up the Astro project
Section titled “2. Set up the Astro project”Clone our status page template and install the dependencies.
git clone https://github.com/openstatusHQ/astro-status-page.gitcd astro-status-pagenpm install3. Customize the status page
Section titled “3. Customize the status page”You need to specify which monitors to display on your page.
- Open the
src/pages/index.astrofile. - Find the following line of code:
const monitorIds = [1]
- Replace the
1with the ID of the monitor you want to display. You can find the monitor ID in the URL when you view a monitor in the openstatus dashboard (/monitors/[ID]). You can also add multiple IDs:[1, 2, 5].
4. Configure your Cloudflare environment variable
Section titled “4. Configure your Cloudflare environment variable”Before deploying, you must provide your openstatus API key to Cloudflare.
- Go to your Cloudflare dashboard and click on Workers & Pages.
- Select your site and go to the Settings tab.
- Navigate to Environment variables and add a new variable:
- Variable name:
API_KEY - Value: Paste your openstatus API key here.
- Variable name:
5. Deploy to Cloudflare Pages
Section titled “5. Deploy to Cloudflare Pages”Now you can deploy your status page.
npm run pages:deployAfter the command completes, your status page will be live on Cloudflare Pages. 🎉